Introduction
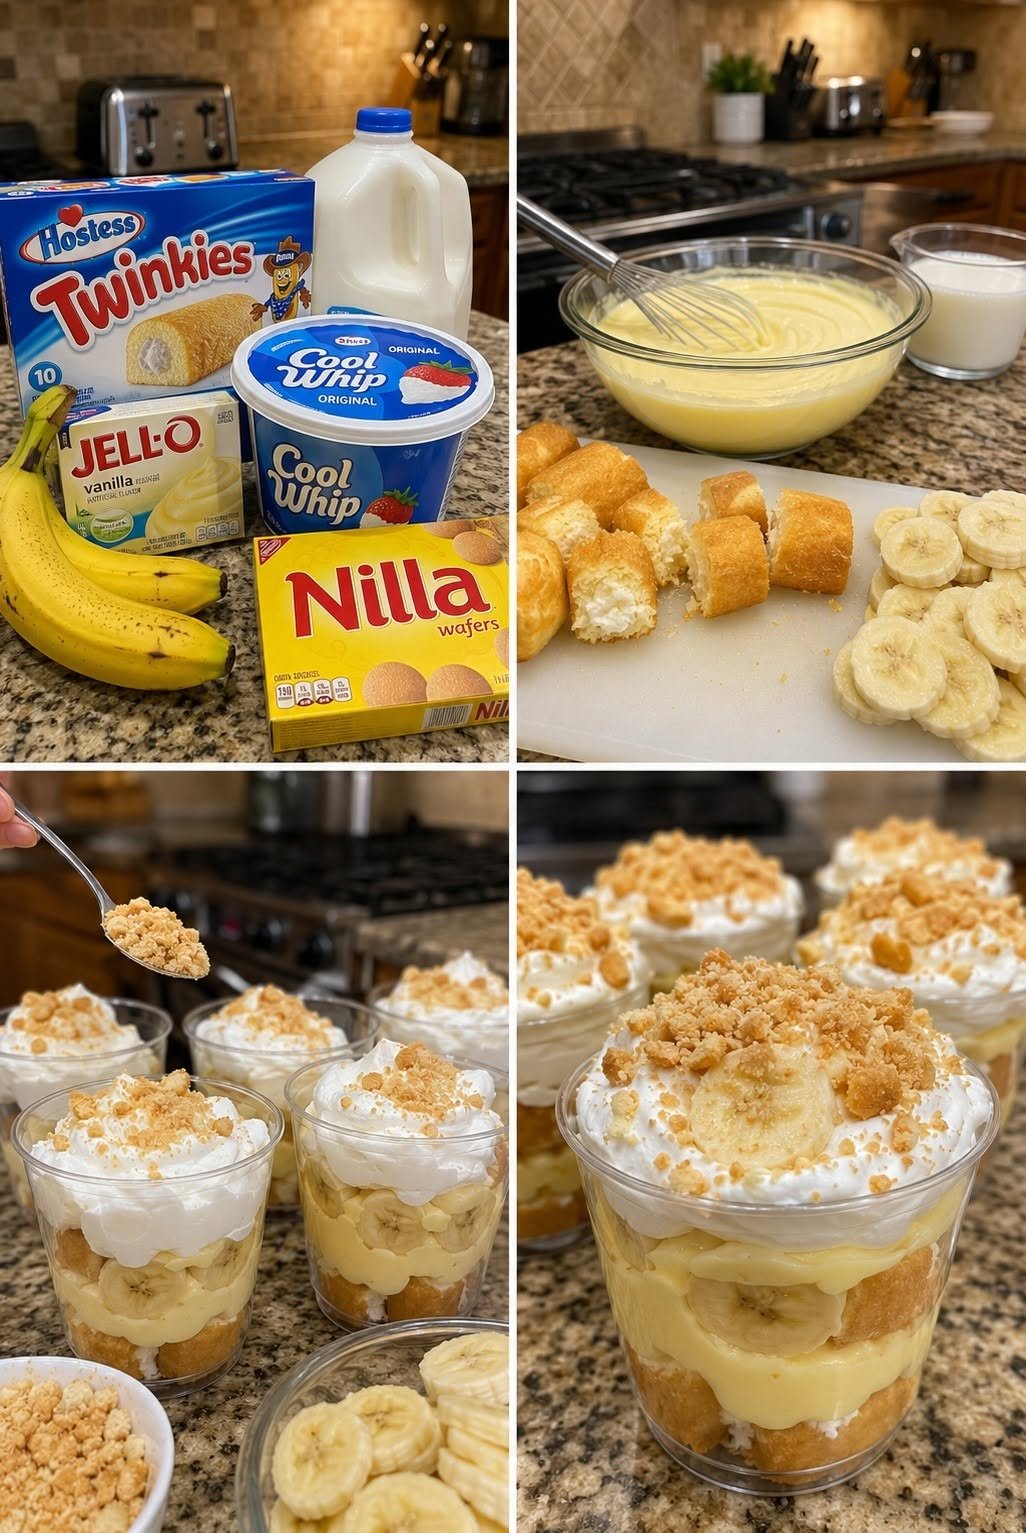
Banana Pudding Cups are a classic, comforting dessert transformed into perfectly portioned individual servings. Inspired by traditional Southern banana pudding, these cups deliver layers of creamy vanilla pudding, fresh ripe bananas, and soft vanilla wafers—all without turning on the oven. They’re simple, nostalgic, and incredibly satisfying.
What makes banana pudding cups so popular is their convenience. They’re easy to assemble, require minimal ingredients, and can be made ahead of time, making them ideal for parties, potlucks, holidays, or weeknight desserts. Served in clear cups or jars, they also look beautiful, showing off each delicious layer.
This dessert strikes the perfect balance between creamy and light, sweet but not overpowering. The bananas add natural sweetness, the wafers soften into a cake-like texture, and the pudding brings everything together into one smooth, comforting bite. Whether you grew up eating banana pudding or you’re discovering it for the first time, these cups are guaranteed to become a favorite.
Ingredients
2 cups cold milk
1 box (3.4 oz) instant vanilla pudding mix
1 cup heavy whipping cream
2 tablespoons powdered sugar
1 teaspoon vanilla extract
3–4 ripe bananas, sliced
2 cups vanilla wafers (whole or crushed)
Preparation
Step 1: Prepare the Pudding Base
In a medium bowl, whisk together the cold milk and instant vanilla pudding mix for about 2 minutes, until thickened. Set aside to firm up slightly while preparing the other components.
Step 2: Make the Whipped Cream
In a separate bowl, beat the heavy whipping cream with powdered sugar and vanilla extract until stiff peaks form. This adds lightness and richness to the pudding cups.
Step 3: Combine Pudding and Cream
Gently fold half or all of the whipped cream into the prepared pudding, depending on how light you want the texture. Folding creates a fluffy, mousse-like consistency without deflating the cream.
Step 4: Assemble the Cups
In clear dessert cups or jars, start with a layer of vanilla wafers at the bottom. Add a layer of banana slices, followed by a generous spoonful of pudding mixture. Repeat the layers until the cups are filled, finishing with pudding on top.
Step 5: Chill Before Serving
Cover the cups and refrigerate for at least 2 hours. This allows the wafers to soften and the flavors to blend perfectly.
Variation
Chocolate Banana Pudding Cups: Use chocolate pudding instead of vanilla.
Banana Cheesecake Cups: Fold softened cream cheese into the pudding mixture.
Peanut Butter Banana Cups: Add a swirl of peanut butter between layers.
Strawberry Banana Cups: Add sliced strawberries for a fruity twist.
Sugar-Free Version: Use sugar-free pudding and light whipped topping.
Cooking Note
Bananas naturally brown over time. For best results, assemble the cups close to serving time or lightly toss banana slices in lemon juice to slow oxidation. Use ripe but firm bananas for the best texture and flavor.
Serving Suggestions
Serve banana pudding cups chilled, topped with crushed wafers, whipped cream, or a slice of fresh banana. They’re perfect as a grab-and-go dessert for parties, BBQs, birthdays, or holiday tables. Pair with coffee, iced tea, or milk for a classic treat.
Tips
Use very cold milk for quick pudding set.
Don’t overmix when folding whipped cream.
Layer neatly for a beautiful presentation.
Use glass cups or mason jars for visual appeal.
Store covered to prevent pudding from absorbing fridge odors.
Prep Time
15 minutes
Cooking Time
0 minutes
Total Time
2 hours 15 minutes (including chilling)
Nutritional Information (Approximate per cup)
Calories: 280
Protein: 4 g
- Sodium: 210 mg
NEXT PAGE
For Complete Cooking STEPS Please Head On Over To Next Page Or Open button (>)